
this adorable treasure trove is just a couple miles from my house. who knew? it's a consignment / antique shop full of rooms galore, stuffed full of fantastic old stuff from floor to ceiling. the owner is a funny older lady who has owned the shop for 17 years and can rattle off facts about everything in the place. i loved it!
i found this old floor lamp for a measley $15. small price to pay for what i could tell was a good quality lamp. here it is in its original state:


clearly the shade needed some love, and i had a little to give. here's a little tutorial in case you ever find yourself in a similar situation:
first: choose your favorite fabric. (i bought one yard of clearance upholstery fabric for $3.50.) cut a piece to wrap around the shade, including a couple extra inches of in length that will fold over the top and bottom of the shade.

(because most lamp shades are smaller at the top than they are at the bottom, your fabric won't lie straight as you wrap it around. because of that, i wouldn't suggest anything with stripes or a pattern that needs to be arranged in a certain direction.)
after you cut your strip, wrap your piece of fabric around the shade. using hot glue, glue one edge of the fabric to the shade as an anchor, and after wrapping the rest of the fabric around (pulled tight), glue the other edge to the lamp.

(make your outside edge clean by folding it under and gluing it before you secure it to the shade.) you will have extra fabric around the top and bottom of the shade in varying amounts after you finish this step.
next: cut the extra fabric from around the top and bottom of the shade so that you leave about 2 to 3 inches of fold-over fabric. using hot glue, glue the excess fabric to the inside of the shade.
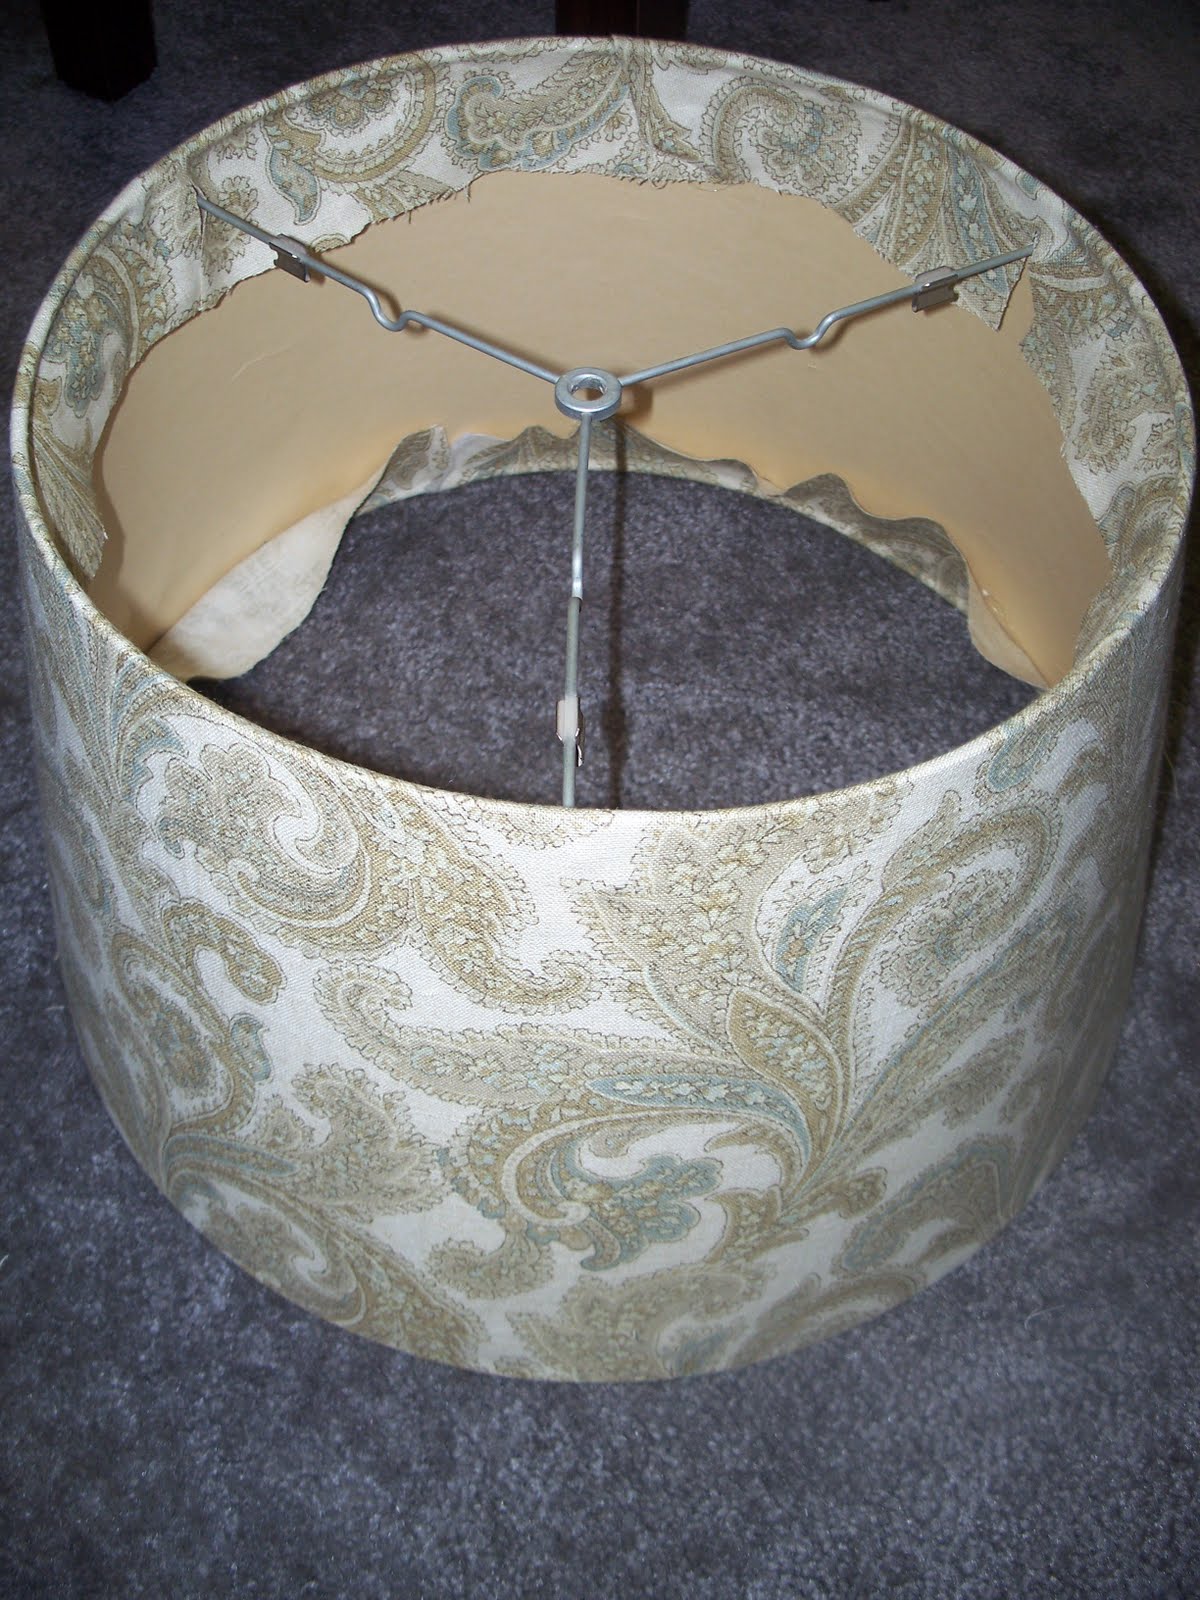

this is what will really keep the shade in place, so put the glue around the brim and make sure the fabric is pulled tight. (also: if your shade is like mine, you will need to cut some slits where the "support beams" are.)
now for the inside: i used plain white poster board, and it worked out pretty well, but it was kind of a pain. again, because of the shape of most shades, a straight strip of poster board won't work. notice how i had to arrange mine so that i could roll the shade from one end to the other and trace the shape.

unfortunately, i forgot to photograph the piece i cut, but it will look like a "U" shape with a very wide curve. (you will probably have to trim the piece you cut so that the poster board doesn't peak out from the inside. i found this process to be more difficult than i had originally anticipated, but it worked.)
the end result should look something like this. i had to cut a couple extra pieces because my two poster boards ended up being a little too short. but after piecing them together, the inside is covered, and all of the rough edges of the fabric are covered.


that's all for the shade! i hope my tutorial made sense and that you will be confident if you ever stumble upon your own town's best kept secret.
here's the finished product (all for less than $20) :


this project was a fun process and one that i plan to duplicate in the near future with another lamp. my original plan was to spray paint the lamp post, but after some consideration, i decided to keep it in its original form -- the oldtimey bronze-ish color. it goes well with the shade. i like it, and i can't wait to put it in my new abode!


I am continually amazed at your abilities! People can learn so much from this blog! Great job!
ReplyDeletevery nice job.
ReplyDelete